
How to Press Linen Shirts Without Shine or Scorching
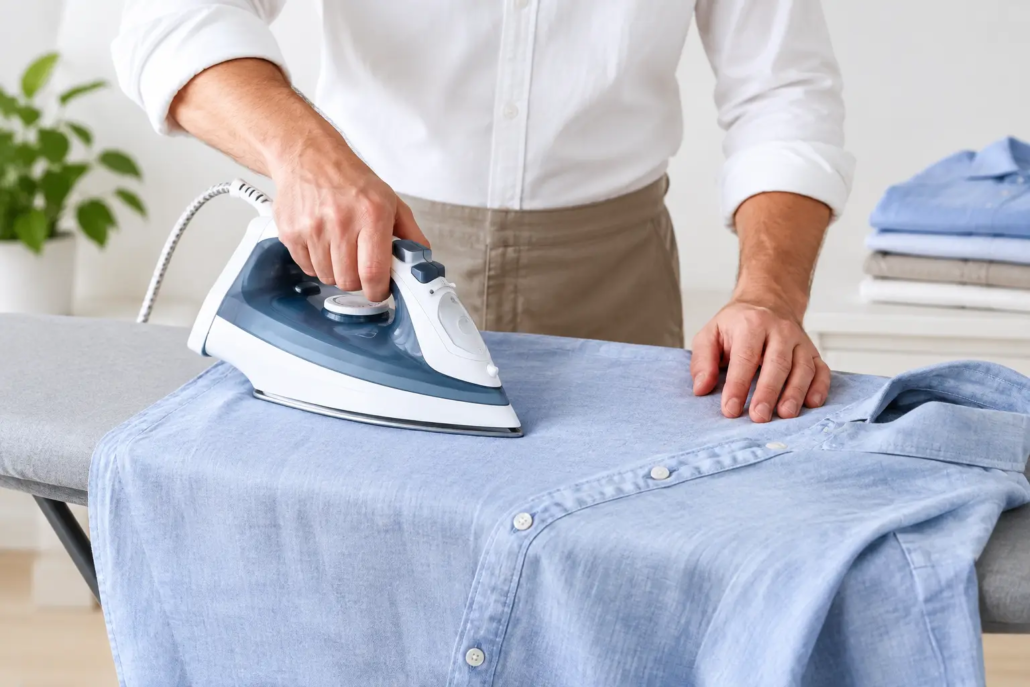
A linen shirt can look polished at breakfast and noticeably rumpled by lunch. That is part of linen’s character, but it does not mean you have to start the day with deep creases, a flat collar, or shiny iron marks. Knowing how to press linen shirts comes down to working with the fabric’s natural need for moisture, using the right temperature, and pressing in a thoughtful order.
Linen is strong, breathable, and ideal for warm weather, office commutes, dinners, and special occasions. It also wrinkles easily because its fibers do not spring back the way many synthetic blends do. A careful press will not make linen wrinkle-proof, but it will give the shirt a clean, intentional finish while helping it last longer.
How to Press Linen Shirts for a Clean Finish
The best time to press a linen shirt is when it is still slightly damp. If the shirt has fully dried, mist it lightly with clean water 10 to 15 minutes before you begin. The moisture needs a little time to settle into the fibers. Pressing bone-dry linen often means repeatedly running the iron over the same spot, which can create shine, weaken fibers, or leave stubborn creases behind.
Check the care label before setting up. Most pure linen shirts can handle a high heat setting with steam, but linen blends may need less heat. A shirt containing rayon, silk, or synthetic fibers should be treated more cautiously. When the label is missing or unclear, start at a medium-high setting and test an inside hem or an inconspicuous area first.
Use a clean ironing board with a smooth, padded cover. Any dirt, residue, or rough texture beneath the shirt can transfer to the fabric or create unwanted impressions. Make sure the soleplate of the iron is clean, too. A high-temperature iron can bake old residue directly into light-colored linen.
Start With the Collar and Cuffs
Unbutton the shirt and lay the underside of the collar flat on the board. Press from the outer points toward the center, using steady movement rather than leaving the iron in one place. Then turn the collar over and press the outside. Avoid creating an overly sharp fold unless that is the look you prefer. Linen usually looks best with a crisp but natural collar line.
For cuffs, press the inside first, then the outside. Work around buttons instead of ironing directly over them. Pressing over buttons can crack them, distort the fabric around them, and leave a button-shaped imprint on the opposite side.
Press the Yoke, Sleeves, and Body
Move to the yoke, the panel across the upper back and shoulders. This area can be awkward because of seams and shaping, so work in smaller sections. Place one shoulder at a time over the narrow end of the ironing board, smooth the fabric with your hand, and press around the seam lines.
For sleeves, lay one sleeve flat with the seam aligned underneath. Smooth it from the shoulder down to the cuff before pressing. If you want to avoid a sharp crease down the center of the sleeve, shift the sleeve slightly as you press each side rather than flattening it into one fixed line. For dressier shirts, a light crease may be appropriate. For relaxed linen shirts, a softer sleeve finish usually looks more natural.
Press the front panels next, carefully working around the button placket. Turn the shirt as needed rather than stretching it across the board. Finish with the back in sections, moving from the yoke downward. Keep the fabric smooth with your free hand, but do not pull hard. Linen can distort when it is damp and handled aggressively.
Use Steam Carefully, Not Constantly
Steam is helpful for linen, especially on larger wrinkles across the back and sleeves. Still, more steam is not always better. If the shirt becomes wet rather than lightly damp, it may dry with new wrinkles or lose its shape along seams and collars.
A good approach is to use short bursts of steam while moving the iron. For a particularly stubborn crease, hold the iron just above the fabric, release steam, then lower the iron and press gently. If your iron spits water, empty and clean it before using it on linen. Mineral buildup can leave marks that are difficult to remove.
A press cloth is useful for dark linen, colored linen, embroidered areas, and shirts with a slight sheen. A clean white cotton cloth placed between the iron and shirt helps reduce the chance of shine or heat marks. It is also a smart precaution when you are unsure of the fabric blend.
Common Mistakes That Make Linen Look Worse
The most common problem is pressing linen that is too dry. A very hot iron on dry fabric may flatten some wrinkles temporarily, but it often creates a harsh finish and makes the work take longer. Light moisture gives the fibers a chance to relax.
Another issue is leaving the iron parked in one place. Linen can scorch, especially in lighter colors where yellowing may be visible. Keep the iron moving, use even pressure, and let steam do some of the work.
It also helps to avoid pressing over stains. Heat can set oil, food, perspiration, or makeup stains into the fabric, making later cleaning more difficult. If you notice a spot, treat or professionally clean the shirt before pressing it.
Finally, do not immediately fold a freshly pressed linen shirt. The fabric needs a few minutes to cool and dry fully. Folding it while warm can lock in new creases just when you have finished removing the old ones.
Hang It the Right Way After Pressing
Place the shirt on a sturdy hanger and button the top one or two buttons. Shape the collar with your hands, straighten the placket, and let the shirt rest in open air for several minutes before placing it in a closet. Give linen enough space so it is not compressed between heavier garments.
If you are packing for work or travel, fold linen only after it has cooled completely. Rolling can reduce hard fold lines for casual pieces, but a pressed linen dress shirt is usually best carried on a hanger when possible. It depends on the shirt’s purpose: a relaxed camp shirt can tolerate a few wrinkles, while a shirt for a meeting, ceremony, or dinner deserves more careful handling.
When Professional Shirt Pressing Makes Sense
At-home pressing works well for an occasional linen shirt and for people who enjoy caring for their wardrobe. But a weekly rotation of work shirts, uniforms, or event clothing can turn into a time-consuming task. Linen also becomes more challenging when it has intricate stitching, delicate trim, stubborn stains, or a blend that needs specific temperature control.
Professional shirt laundry and pressing can provide a consistent finish while saving time during busy weeks. It is especially useful before weddings, graduations, business travel, religious services, and summer events when several garments need to look ready at once. If a linen shirt also needs a button replaced, a seam repaired, or the fit adjusted, handling those needs together can keep a favorite shirt in regular rotation.
For Westbury-area households and professionals who would rather spend their evening doing something other than setting up an ironing board, Joe’s Organic Dry Cleaning & Tailoring can help keep linen shirts clean, pressed, and ready to wear. Whether you press at home or leave the finishing to a professional, treat linen’s wrinkles as a fabric trait to manage thoughtfully, not a reason to avoid wearing one of summer’s most comfortable shirts.
